Table of Contents
Ukulele Finger Exercises
Introduction
Are you having sore fingers? They’re absolutely the nightmares for freshmen who’ve simply started playing the ukulele. In case you are a sufferer of sore fingers, don’t be disheartened, do not surrender in your ukulele journey.
Having sore fingers when you first began practicing the ukulele doesn’t imply that you’re too weak for the instrument nor does it signify your incompetence. In fact, it means that you’re on a path to turning into a greater ukulele player.
To alleviate the soreness of your fingers, there are a number of finger workouts you are able to do each day or earlier than your ukulele practice session to strengthen and stretch the muscle mass in your fingers.
Below we listed 6 basic exercises, warm-ups, and practices to prepare yourself for playing this instrument. Some of them are stretching exercises, and some are for a better understanding of your ukulele. Let’s check them out!
1. The 1234
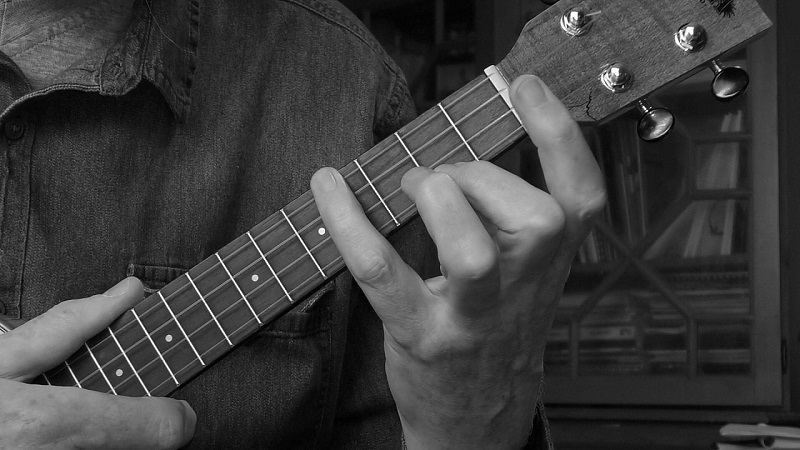
We’ll begin with the traditional 1234. For this, we begin with our index finger on the primary fret of the G string.
We pick the note after which add our second finger to the second fret and pick once more. That is repeated utilizing our third finger on the third fret and pinkie finger on the fourth fret. Every finger takes a fret.
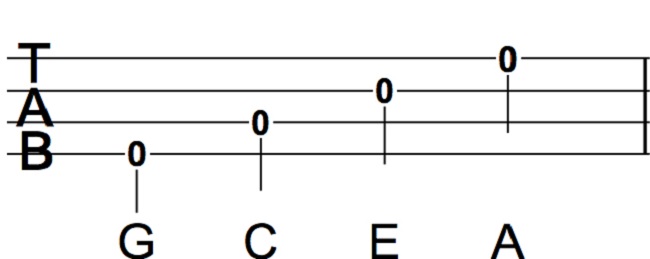
As soon as we’ve got to our pinkie finger we then drop all the way down to the C string and begin once more on the first fret.
After we arrive on the A string, we then slide up and begin with our index finger on the second fret. This means that your second finger will get the third fret, your ring finger get the fourth fret, and your pinkie on the fifth.
In this pattern, we maintain moving up one fret at a time. We would recommend you do that till your pinkie finger is landing on the twelfth fret.

2. Play chromatic lines
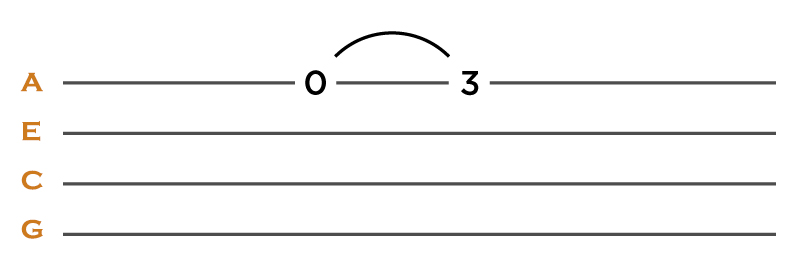
Begin by playing the highest string (the A string) as an open string. Then, use your index finger to press the string down on the first fret, and pluck the string once more.
Repeat, first using your middle finger on the second fret, next to your ring finger on the third fret, and eventually with your ring finger and pinkie on the fourth fret. You’ve got simply performed a chromatic line. Now, play the chromatic line in reverse.
Follow this again and again with a metronome, progressively speeding up over time. Repeat the identical pattern on the second string (E string), third string (the C string), and fourth string (the G string).
This entire exercise needs to be carried out more than once. Ideally, it is best to do that not less than 5 times before your ukulele practice session in case you are a newbie.
If in case you have spare time, try to do this practice each day. It is going to enable you to gain higher control over your fingers.
Things that you should be aware of:
- Every sound produced should be clear.
- Discover a comfortable fretting place that doesn’t pressure your wrist as you play the notes.
3. Finger Workouts
Listed here are some finger workouts to do to build dexterity and fretting-picking synchronization.
Beginning on the G string, use your index or pointer finger to fret the string on the primary fret, then your middle finger on the following fret on the C string, your third finger on the third fret of the E string, and your little finger on the fourth fret of the A string.
Now do this the same way but slide down a fret, starting with your index finger of the second fret of the G string.
When you’re done, do the identical but in reverse. You can begin on the A string and move your pinky finger down first, along with your index finger going last.
For those who like, you possibly can even do that all the way up the fretboard—the key is to get these fingers all warmed up.
Go slowly at first till you get the movements down, and also you don’t miss a note; then gradually enhance your speed. You should use a metronome to assist you to keep time.
4. The Hammer Up
It’s time to deliver the hammer-ons into play. The hammer up takes the identical form as the 1234 however introduces a hammer on into proceedings.
Begin with your index finger on the primary fret of the G string, pluck the note, and hammer on utilizing your second finger at fret 2.
After this we return to plucking the note from the primary fret of the G string, this time hammering on with our third finger on the third fret.
We then do the same once more however this time switching to hammering on the 4th fret with our pinkie finger.
Similar to the 1234, as soon as we’ve carried out all 4 frets we transfer down to the C string, then all the way down to the E string, then the A string. After this, we merely slide up a fret and do it yet again.
5. Wrist stretch and Reverse wrist stretch
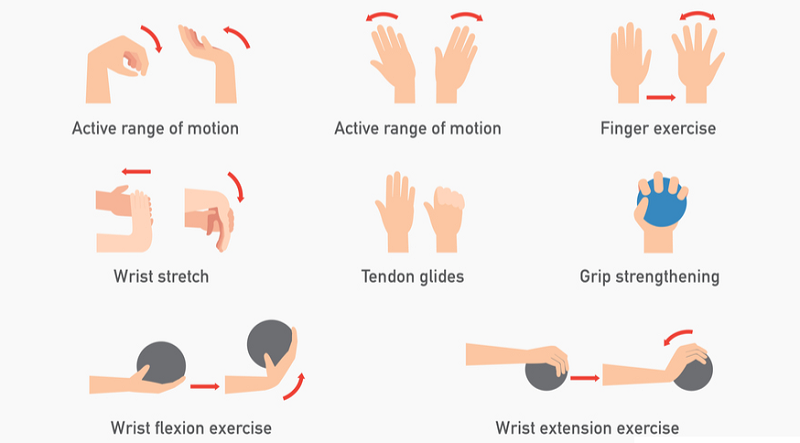
Maintain your right arm straight, 90 degrees perpendicular to your body, along with your fingers pointing upwards.
Gently use your left hand to push your right hand till you’re feeling the stretch in your wrist and arm. Hold the place for just a few seconds. Do that exercise for each arm 5 times.
Hold your left arm straight, 90 degrees perpendicular to your body, along with your fingers pointing downwards.
Use your right hand to push your left hand till you’re feeling the stretch in your wrist and arm. Keep the position for just a few seconds.
Also, go ahead and try to stretch your fingers on each hand by extending them as much as you can. You might feel a slight release in the joints, which means that your fingers are ready for some action.
Conclusion
We tried to compile some basic ukulele exercises and finger exercises in this short and cute article. We believe that if you do the basic exercise of finger stretching (both right and left hand), practice major and minor scales, and do strumming hand exercises – you are on the right way.
Chord shapes will come easier, finger stretches are good if you suffer from carpal tunnel syndrome and you will get better at playing your ukulele.
Repeat these 5 exercises and patterns, warm up your fretting hand and the other hand as well – simply prepare your muscles for some work.
Please let us know if you have any questions in regards to this topic in the comment section – and in the meantime: play, practice, and exercise!

