Table of Contents
Check Out This Guide + Bonus: An awesome Cardboard Tutorial!
Introduction
Have you considered making something to hold your ukulele, like the DIY Ukulele Stand project? Have you ever attempted to make a homemade ukulele stand in order for your instrument to be in a comfortable place?
It doesn’t really take much. With some craftsmanship and this little project, you could make nice ukulele/guitar stands.
You can find or have a number of reasons to make your own instrument holder/stand to show off your ukulele.
You could be a gifted craftsperson and your creativity and passions drive you to mix your love for uke and making things, to construct yourself a unique stand also for violin, or guitar (or whatever other instrument you play).
Alternatively, you might have an uncommon problem you need to solve such as a rare and oddly shaped instrument that doesn’t fit standard body shape stands. But usually, the reason is you are financially challenged or in a rush.
Fabric-made stands are originally designed to go with ukulele with a standard shape but they can comfort pretty much any similar instrument.
Musical instruments made out of trustworthy materials like wood or copper are often beautiful and created with nice craftsmanship.
Why should the stand we use to display these pieces be made from plastic? That will also show that your instrument is used with pretty much care.
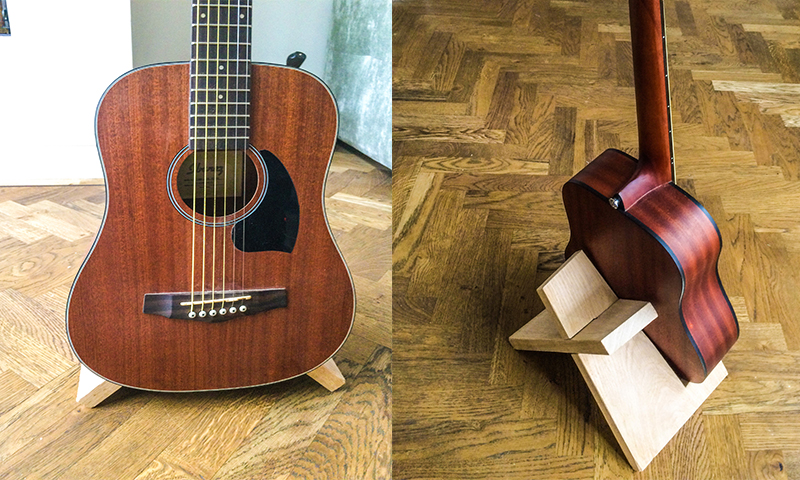
With only one board, two holes, and seven cuts you’ll be able to have an elegant-looking, sturdy stand to display your instrument. You’ll be able to very easily disassemble it to take it with you and you can finish the wood any way you want.
We personally just like the design because of the symmetry, simplicity, and effectiveness, however above all, the construction process is actually fast and enjoyable.
Because there’s very little waste when making this stand and there are just two almost identical pieces, the second you make that final cut and the board falls into those two weird L-shapes, in the end, it feels like you have created the simplest jigsaw puzzle in your life.
Ukulele Stand – DIY Project
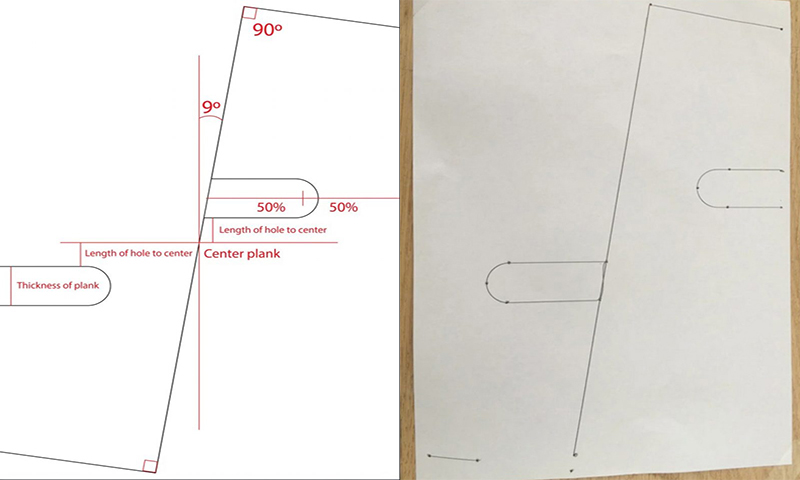
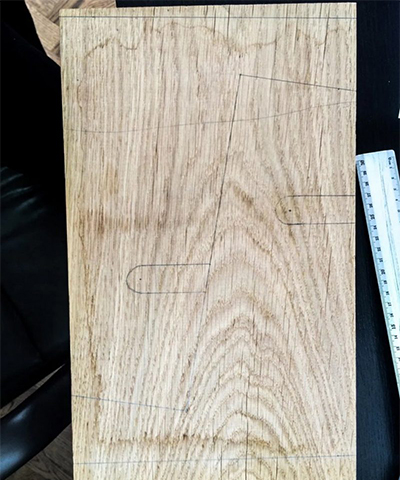
1. Transfer the template onto your board
Print the stand parts template on an A4-sized piece of paper and punch some holes in it on strategic points so you may draw inside these holes on the wood.
You’ll be able to customize the stand template in case you like but keep track of the necessary measurements like the width of the slots and their equal yet opposite distance to the vertical center of the board.
Using this template as an example, you can make some changes to your own stand made that you are going to craft and make it usable for pretty much any ukulele model and size.
2. Drill two holes
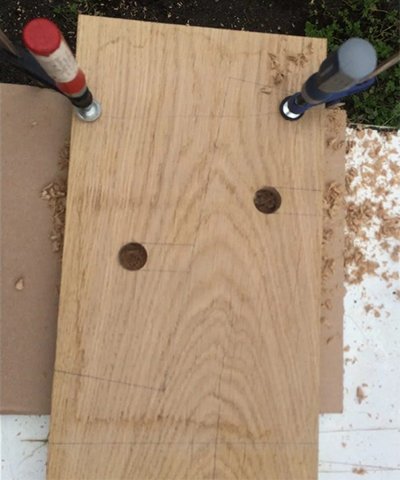
Drill two holes with a drill of the identical diameter as the thickness of the board; in my case, this was 25mm (1′).
We wanted to maintain the holes round and just off-center to ensure a cozy fit however you possibly can square them off with suitable tools if you like to make a different look on your stand.
3. Middle cut
Use tools like a fine handsaw or a jigsaw to work inwards from the hole to get a starting point for the big middle cut of stand parts.
This way you won’t have to cut any corners however same as the whole project it does require some patience.

4. Final Cuts and Sanding
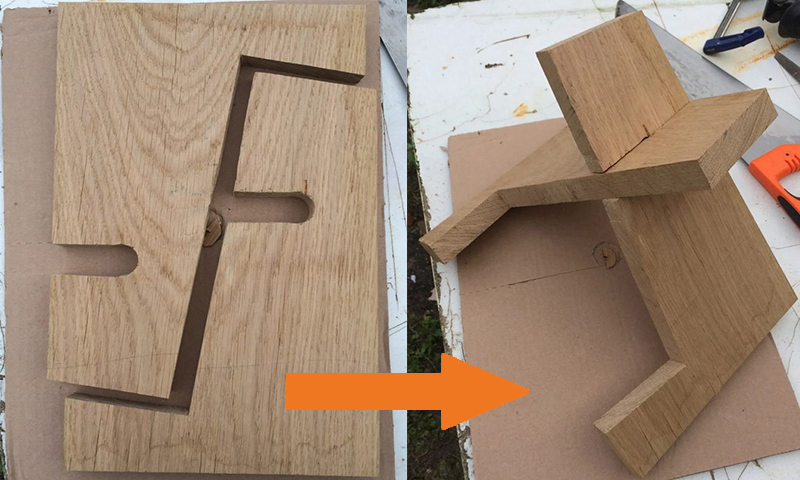
Finish the big middle cut and the slots first to maintain the structural integrity of the wood intact while working with your tools on the last two cuts. You can easily start from the outside of the board towards the middle cut.
Then when the pieces come apart, attempt to fit them together to make the stand. Sand the two slots until you feel like they nicely interlock and finally sand and optionally oil, paint or varnish both pieces to perfection.
However, we personally like the fact that there is only one material in this design. But you may also wish to use your craftsman skills and make it in another style or add some felt on the parts that touch your instrument in case you’re afraid of scratching it and you want to save it.
In addition, besides this project, we would like to show you some different ideas with short explanations, that can awaken your imagination and encourage you to make some different and unique ukulele/guitar stands.
Additional Methods and Ideas:
Hanger
Many of them are ready to be attached to the wooden part and hung on the wall.
Some of them are fabric-made and can give you an idea of how to make your very own piece. They are easy to make, easy to use, and will save your ukulele.
Hooks
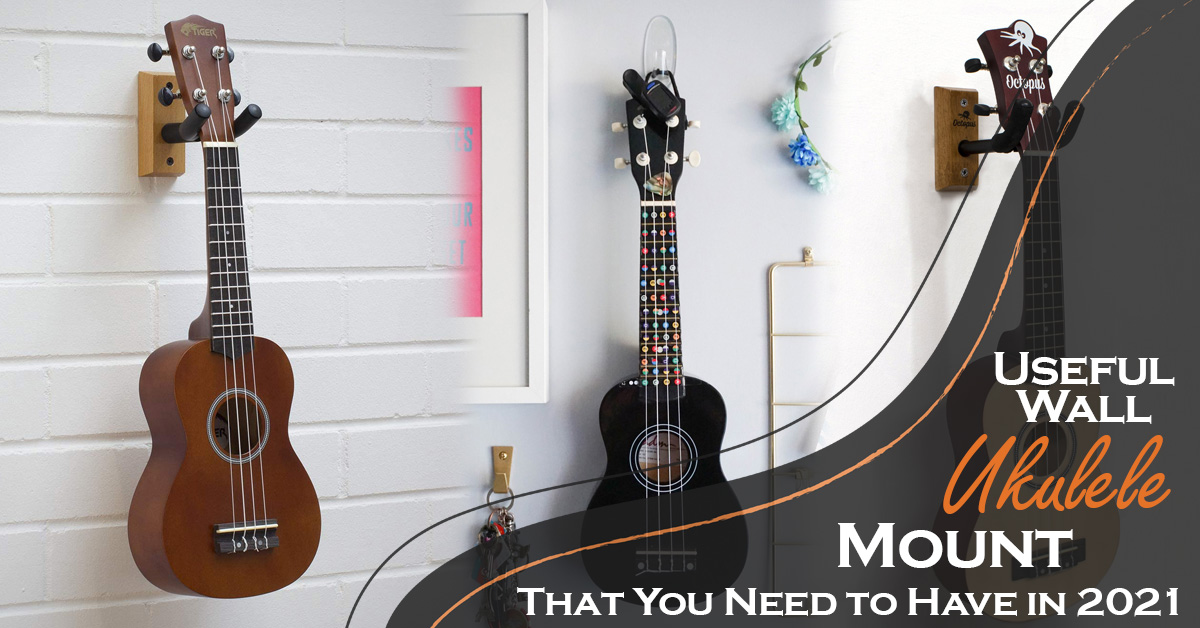
In order to put an instrument, particularly for display, the easiest place is to hang it on a wall.
You can try and use a simple cup hook but you should take care that it is sufficient to withstand the weight of your instrument. Hooks are very good for smaller instruments like the ukulele.
A better-looking and stronger hook mounted securely to the wall would be a better idea. This also works well for headless guitars and if they have a hanger near the nut.
Your ukulele will be hanging from a strap that goes over the tuners.


DIY Stand PVC + Foam
Assemble the base of the PVC and foam uke stand and top as well. Once you have done this, join the base and the top, and to make it look more decent stand, use some foam of suitable sizes in order to make the place for your ukulele more comfortable.
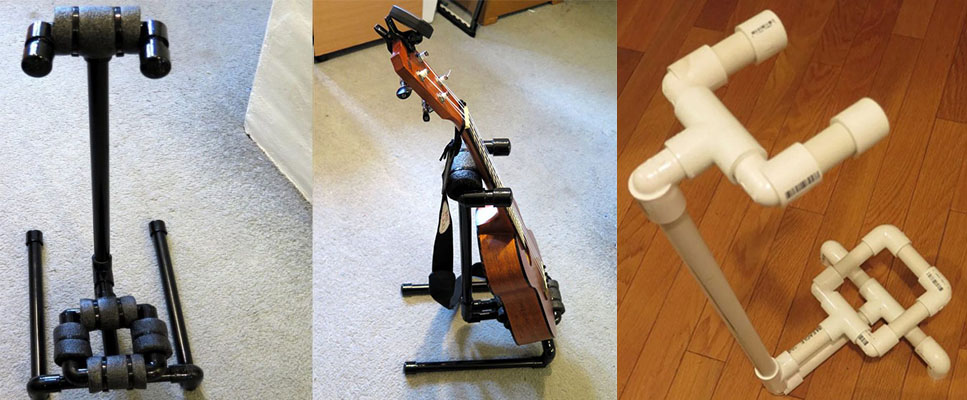
This video will teach you how to make a cheap pipe stand for your instrument!
Big Ukulele and Guitar Stand
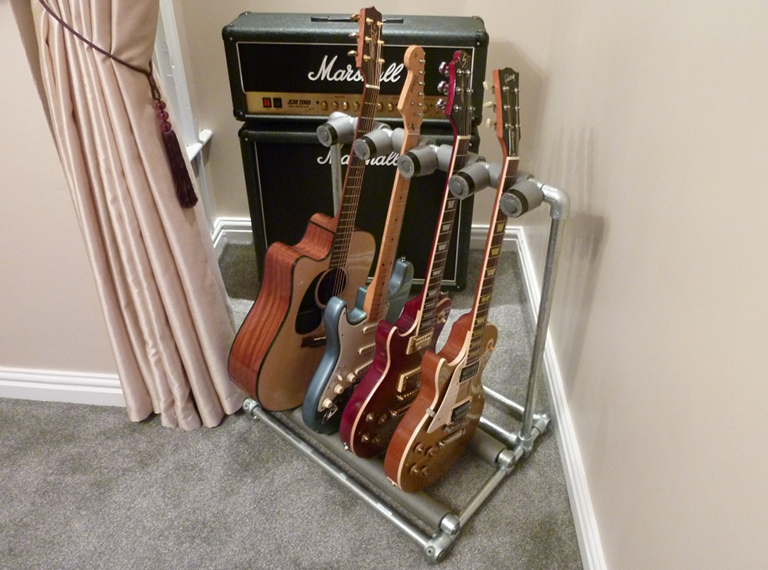
It will cost you almost $20 to build this DIY PVC stand. It has space to store more than one uke of any kind at the moment.

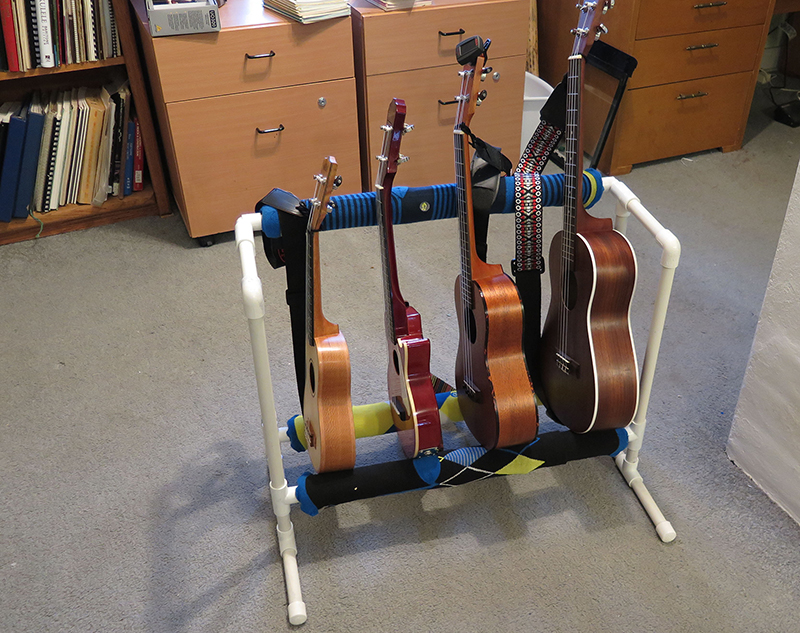
There is spacing for acoustic and multiple ukuleles and guitars in this durable design out of PVC that will be able to save your instruments properly.
The next example is done with the same method but only with metal pipes which makes the stand a lot more durable.
