Table of Contents
Best DIY Method That You Can Find In 2023!
There are lots of frequently asked questions about capo, tips on how to use it, DIY (Capo for ukulele), and if you can possibly use your guitar capo on your ukulele.
Well, this ukulele accessory is crucial and you need to own it!
Can I use a guitar capo on my ukulele?
Sure, you can use your guitar capo with a ukulele, in a pinch. Nevertheless, there are some drawbacks, and you need to consider getting a size-specific capo on your ukulele.
Usually, it is a smart idea to search for an instrument-specific or more precisely, a size-specific capo. You can even make your own – covered later in this article.
First, I am going to focus on why you should (or should not) attempt to use a guitar capo on your uke. The disadvantage of using a capo model designed for a guitar on a ukulele is, that it’s liable to be too wide and too bulky for a lot narrower neck of a ukulele.
You may find the dimensions of a capo to be somewhat of a hindrance with a number of the tighter fingering positions. As you progress up the fretboard, away from the capo, this turns into much less of a problem, as your fingers will not be feeling so squished. As an emergency capo, a guitar model will typically do, although it isn’t ideal.
Ukulele vs Guitar Capos
Shifting onto dedicated capos, it is essential to point out that almost all of these models could have been designed and manufactured with the smaller instrument in mind.
The general dimension of a ukulele capo is much more manageable than the significantly bigger guitar models and should not impede your playing style in most situations. One pitfall is to keep away from capos that claim they can be used for both a guitar and a ukulele.
Within the broadest sense, this may be true, however, in reality, a tool designed for one sort of instrument is unlikely to be an ideal match for the other.
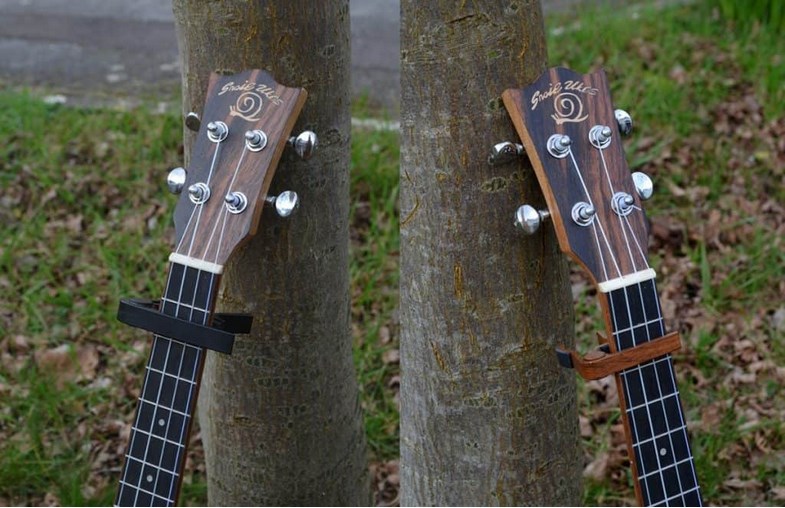
Using Capo on Ukulele
If you are not in a situation to make this DIY project, you don’t have the necessary items or you simply want to get a new and decent capo for your ukulele, please check our offers!
Most capos work by using a robust spring mechanism within the body of the device. This enables it to clamp firmly onto the fretboard.
To open the jaws of the capo you usually use a pinch or pistol grip to slide it onto the neck and then place it where you need it alongside the fretboard. Then it clamps firmly within the place and will act as a temporary nut position.
Warning: Be sure that your strings are still operating parallel to one another, as it is easy to get a little bit of slippage as you clamp it on. This will send a string slightly out of tune.
Not all capos utilize a spring, instead, they depend on a clamp and screw system. These are fairly effective as you’ll be able to vary the amount of pressure pushing down on the fretboard. For obvious reasons, the spring-based models only have one set level of pressure.
It needs to be mentioned that sometimes relying on the quality of your capo or equally, the intonation of your ukulele, you may need to retune if the capo appears to be throwing things out a bit.
Usually, a little jiggling of the capo may help with this undesirable bi-product of using such a device. One question which frequently crops up is ‘Where should I place the capo in relation to the closest fret?’ The usual placement of any capo should sit just behind the fret underneath it.
A common mistake is to clamp it down nearer to the fret above it. This will throw out the intonation and will not give such a solid footing to it.
Tip:
Capos are notoriously easy to lose, so one rule of thumb is to clamp them onto the top of your headstock once you have finished using them. If you’re packing your gear up after a gig, put it straight into the front pouch of your soft case or accessory compartment in a hard case.
Finally, one curious question I read somewhere was: ‘Is it unprofessional to use a capo, and whether or not it is frowned upon by purists?’
Going by the same standards, you could possibly well accuse a mathematician of the same crime or misdemeanor if he or she dared to pull out a calculator. However the simple reply is no, it is not unprofessional to make use of a capo – it is simply another essential part of the musician’s armory.
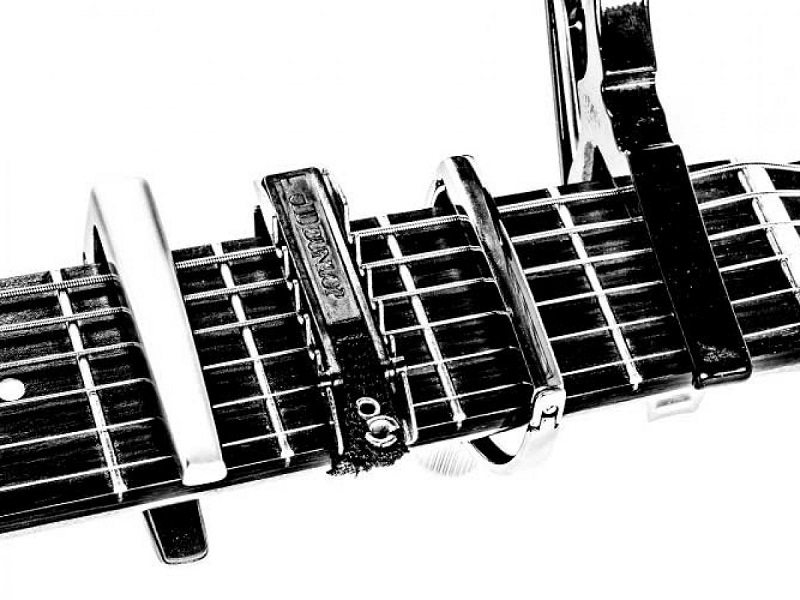
DIY Capo for Ukulele/Guitar
Base
The part that makes contact with the strings on your ukulele is the base of the capo.
You have a couple of choices for the base depending on what supplies you’ve got lying around. You can use a pencil, marker, pen, or highlighter.
- The vital thing to consider in regards to the base of your capo is that it’s long sufficient to cover the width of the fretboard.
- If you have a short pencil or another shorter base, check it by comparing its length to the width of the fretboard.
Tying Device
You also have a number of choices for connecting the base of the capo to the ukulele. The essential part in regards to the tying component is that it has enough pressure to hold the strings.
You can either use a strong elastic band like a rubber band or hair tie, or you can use a piece of string.
- When you use an elastic band, check it to ensure it’s strong enough to hold the base toward the strings.
- Check the elastic band by stretching the band. You don’t have to stretch it too far, however, be sure it doesn’t break on an initial test.
Set up Your Ukulele
Tune up your guitar before attaching the capo. You can either tune to standard tuning (EADGBE) or tune to another tuning. Use a chromatic tuner for the best tuning.
Adding the Capo to the Ukulele
Add the Band to the Capo
Tie one end of the band or string to the base. Secure a knot of the string close to the edge of the base. It will create a permanent knot that’s helpful for fitting the capo to your guitar.
- Loop the other end of the elastic band or string around your base. Before attaching it to the guitar detach the loop.
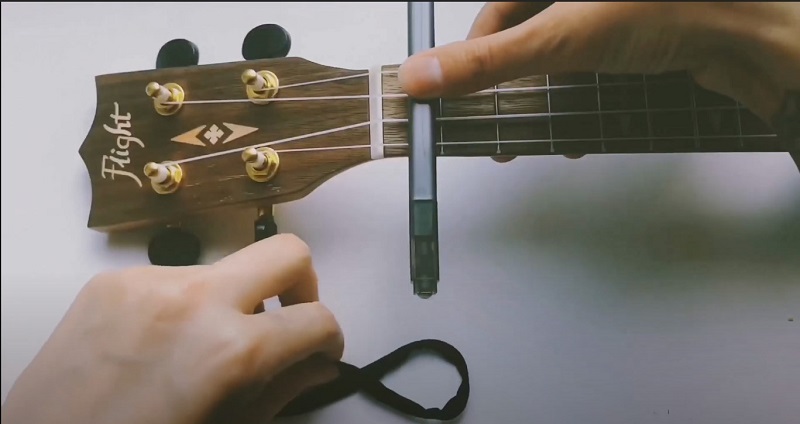
Add the Capo to the Ukulele
Put the base across the guitar neck at the fret desired, and loop the opposite end of the band around the other end of the bottom. It will secure the base over the strings. Ensure it’s attached securely.
- Depending on what elastic band you are using, you may have to double-loop it to increase the pressure.
- The pressure must be high to successfully press down the strings across the fret.
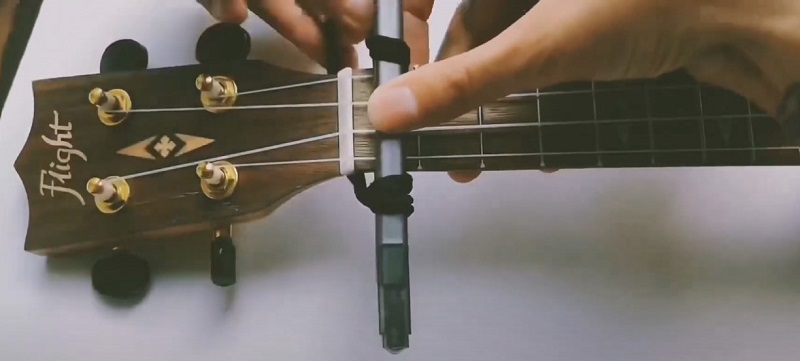
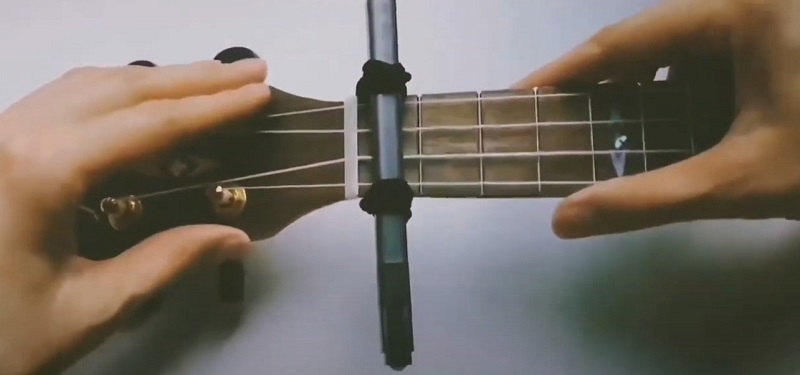
Readjust the tightness
Take it off and tie a knot on one end of the band to make it tighter. Repeat till the strings are pressed firmly in opposition to the strings. Check the capo by playing a chord or a couple of notes.
- If you check the capo, play chords within the open position to test if the open strings sound good. The open strings are the notes which are affected by the capo.
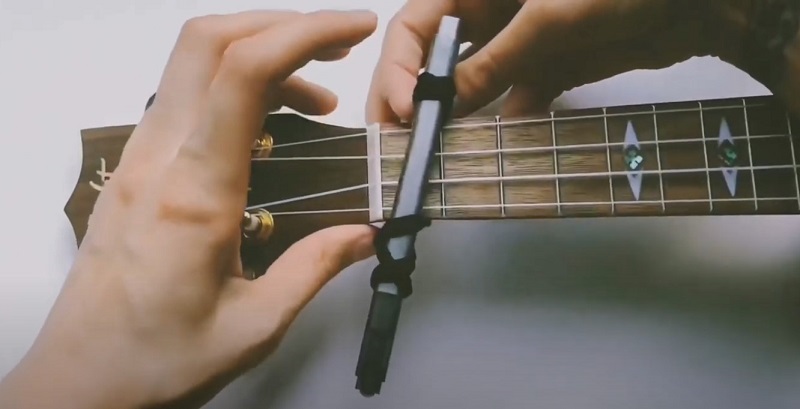
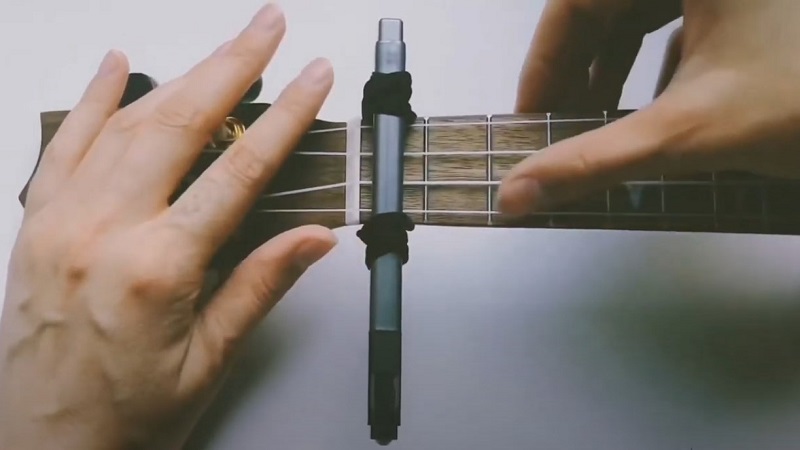
As you can see, just a couple of easy steps and you can make your very own capo from materials close to you.
Obviously, this is a temporary solution but one that can save your day. We hope that our tip will be helpful for all guitar and ukulele players.
Conclusion
Well, we think that this short and precise guide will help you out in making your own DIY capo for your ukulele.
It is very simple to do if you are in an hour of need. This way will certainly be fast and easy to do + it is close to 0 budget!

