Table of Contents
Learn How To Properly Take Care Of And Clean A Violin!
Doing regular cleaning and learning how to clean violin is a vital part of its maintenance, and ensures that it appears and sounds as good as possible!
Violins are always subject to clouds of rosin, the natural oils from our fingerprints, and other different bits of grease and dirt that get stuck to the surface. So, how can we stop the build-up of sticky rosin residue, protect the shiny finish and clean a violin?
In this post, we will inform and guide you through maintaining your violin as clean as possible after everyday use.
For in-depth cleaning or restoration violins or any other string instrument needs to be taken to a professional Luthier. These violin makers can work on your violin carefully because they are specialists. They will know the delicate processes required to give your instrument a full restoration and to make it look and sound good as new.
Before we start
Important notice:
In case you have an antique or older violin please don’t try to clean or polish it with any products as they may be highly corrosive to the varnish.
Antique violins are coated with a delicate spirit-based varnish, which will not stand the cleaning with the products that are shown or listed in this post.
In case you are not sure, please get in contact with the store where you purchased your violin and they will be able to examine your instrument and advise you.
Things you will need
You are not going to need much to clean your instrument properly and probably some of the things you have already at your home.
How To Clean Violin: Step By Step Guide
1. Preparations
Before you start the process of cleaning your violin, you should start by washing your hands with soap and then of course drying them with a towel. You should not skip this step as with dirty hands you’ll be making extra work for yourself.

Our hands and fingers naturally have body oils, which may leave little grease marks and interfere with the luster of the violin’s finish. We need to keep our hands as clean as possible (just like cleaning cloths) when dealing with the instrument, so it’s best to clean them every time you are about to play too!
2. Wiping The Body Of The Violin
After you wash your hands, you should take your cleaning cloth and gently wipe down the body in order to remove excess rosin and clean the violin.
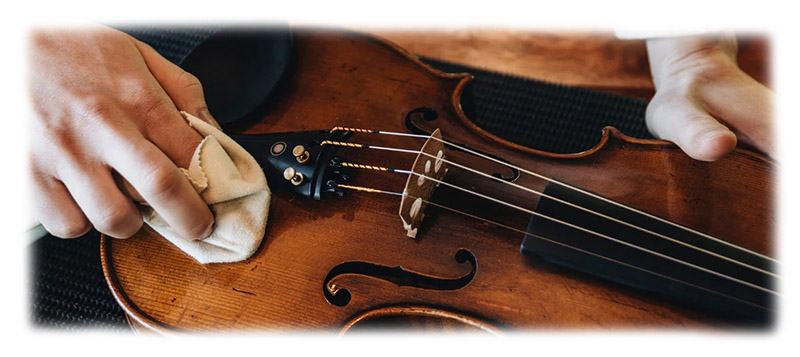
In case you have a large build-up of rosin, it would be best to watch out for spreading it additionally, so check how much dirt your microfiber cloth has collected and if you keep using the same cloth you should continue with a cleaner part of it. Please be gentle here and don’t apply a lot of pressure as your violin could be very fragile!
The bridge and F-holes could be wiped down with a cotton bud (Q-tip), which will allow you to get into the smaller corners. If the tip of the bud becomes discolored change to the opposite side so that you’re not spreading dirt around.
3. Wiping The Strings Of The Violin
After you finish wiping down the back and front of your instrument body with a clean cloth it’s time to wipe down your violin strings by sliding a clean part of the cloth beneath them.
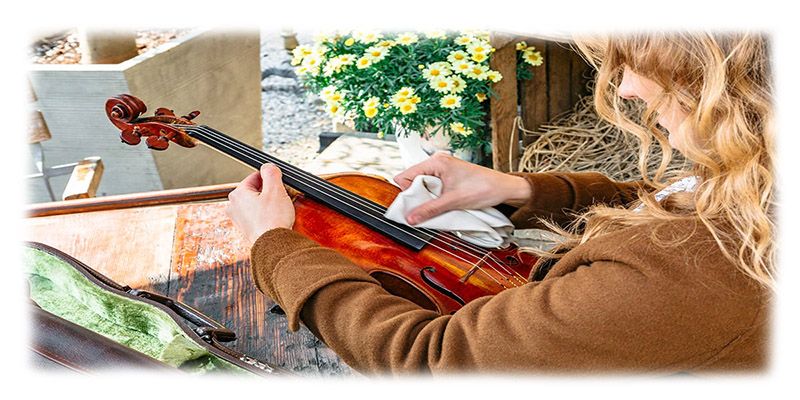
Moreover, you possibly can gently pinch every string with the dry cloth and slowly slide it up and down (gently wipe) to shake off the rosin.
4. Remove Extra Rosin From Your Instrument
Now it would be best to use a rosin remover to make sure you’ve got all of the layers of rosin dust off the body and clean the violin. There are many different choices to clean a violin and remove rosin dust.
We’d additionally suggest using a fresh cleaning cloth or tissue for this part. Please use the rosin remover sparingly, only a few drops on your cloth at a time are required, with light strokes on the affected areas.
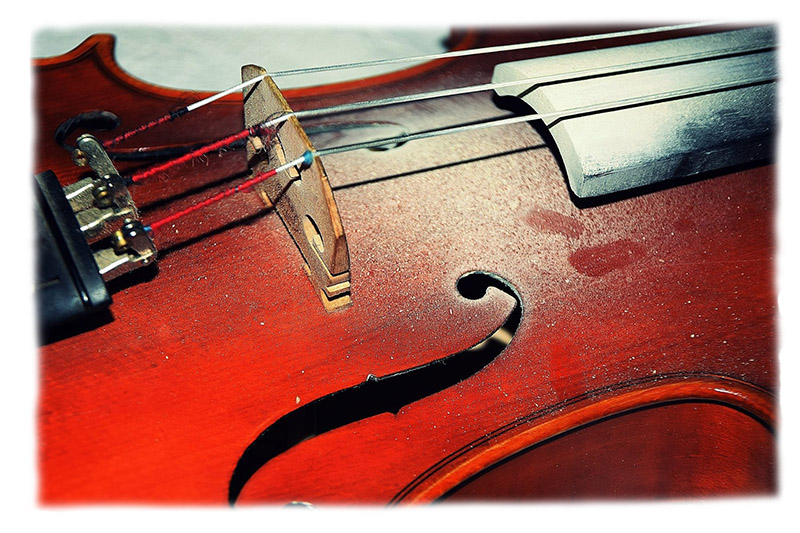
You should use this product on the wood part of your bow too, however, be careful to not get any product on the bow hair! Don’t use this product on the strings of your violin either; in case you are wiping them down with a dry cloth frequently, this will be sufficient to get the rosin off.
Check your microfiber cloth/tissue after each wipe to see if you need to use a clean patch. Rosin will show black in color, so in case you begin to see any brown coloring this will mean you are removing the varnish.
If so, you should stop your violin cleaning process immediately and think about booking your violin in with a luthier, who will know exactly how delicate or hardy your violin’s varnish is and the way to deal with it. Rosin remover might struggle to take away thicker layers of rosin, which will appear like grey, sugary, residue.
That is another sign that your violin needs professional cleaning by a luthier. While this is costlier than cleaning your violin on your own, it will mean that your violin is kept in the absolute best condition and will prevent cumulative damage further along the line.
5. Polishing Your Violin
After you manage to clean the violin’s surface without any problems now you can proceed with your cleaning process of polishing your instrument. Please be aware that polishing over an unclean, sticky surface dangers embedding the dirt deeper into the material of your violin so it is important to have it completely cleaned first.
You need to use a violin-specific polish and NEVER use furniture or different wood polish for this process or you may damage violin varnish. Take new cleaning cloths or tissues and add a few drops of polish, before rubbing gently over the back and front of the violin to restore the shine.
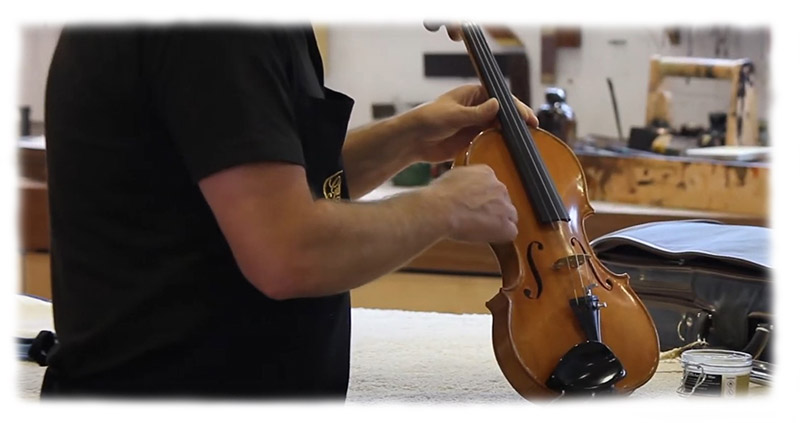
Be sure to avoid getting any polish on the bridge or strings as this may cause harm and have an effect on the sound of your instrument. You’ll be able to polish the stick of your bow, but once more, be sure to not get any polish on the bow hair!
Now your violin should be looking shiny and clean and prepared for you to pick up and play!
6. Cleaning Your Bow
Something that can affect the sound and longevity of your bow is the rosin that can accumulate on it. Once you finish playing on your instrument, you should loosen your bow and wipe the stick down with a soft, lint-free material.
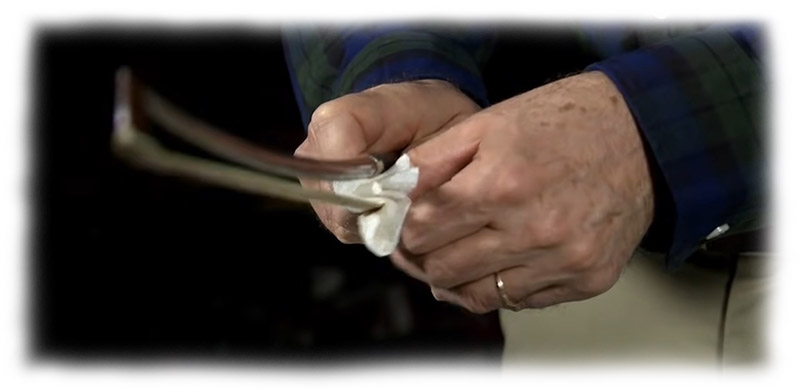
If this doesn’t work, you can always use a cleaner to clean the stick. All you need is a few drops. Please take care so you don’t apply (by accident) the cleaner on your bow hair. You should make cleaning your bow a habit and you should do this once you finish your practice session.
Notice: Be sure that you only use cleaning products specifically made to be used when cleaning violins or similar instruments.
Different products, although designed for the same purpose, could be made of oils, alcohol, and other solvents that successfully take away rosin residue while additionally removing and damaging the violin’s varnish.
7. Cleaning The Violin Case
At least once a week, or every time you discover flakes of dust, dirt, or rosin, you should empty and vacuum your case. Your instrument is not going to stay clean if its storage space is filled with dust, so keep watch over your case as well.
This step additionally helps maintain dust mites at bay. Those annoying mites adore bow hair and you should verify the tidiness of your case every couple of weeks.
Daily Cleaning Habits
Everyone knows that the violin is a delicate musical instrument. Apart from learning to clean a violin appropriately, these violin maintenance suggestions and tricks will go a long way in maintaining your string instrument in excellent condition.
Temperature changes, physical damage, improper cleaning methods, and unsafe commercial cleaners are just some of the factors that can have a destructive impact on the sound of a violin. We have put a list of important steps to make sure your violin is well-protected.
1. Dusting Your Violin With Soft Cloth Regularly
Once you make a habit to clean your violin after each session is definitely the best thing you can do to protect your instrument. It can possibly look like a minor and insignificant step, however, most violins lose their sound quality due to inconsistent cleaning.
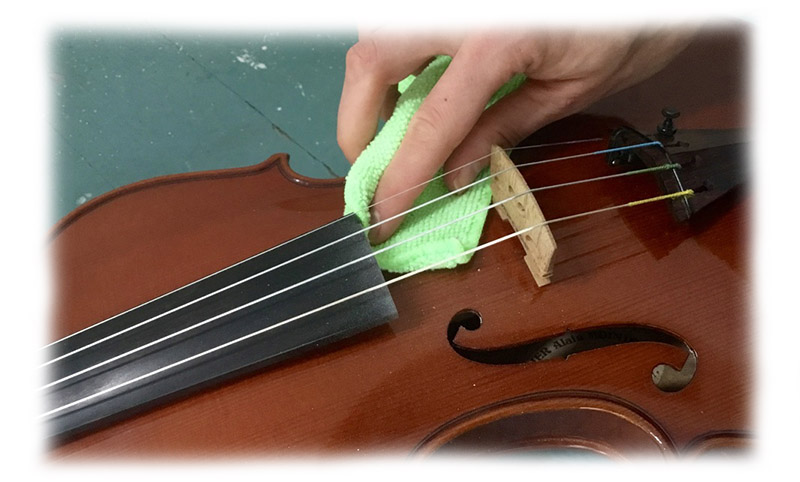
We recommend using two microfiber-cleaning cloths – one for wiping the rosin and one for the rest of the violin. Attempt not to use a single cleaning cloth to clean every part. In case you use the same piece of cloth to wipe away the rosin and the dust, you risk spreading it to other violin parts (as we mentioned before).
2. Loosen The Bow
Loosening the bow is crucial for maintaining the very best condition of your bow, so keep in mind to do it after every practice session.
For those who keep their bow tight, it pulls the hairs from the stick, and ultimately, they might all fall out. Furthermore, it’s going to lead to a side bend of the bow or might even cause the breaking of the tip!
3. Try To Use Peg Paste When Needed
Peg paste, often known as peg compound, is needed to help turn pegs that have refused to turn easily and have become stuck or are unable to remain in place. It makes tuning pegs easier and extra precise.
To assist in smoother turning, rub some peg paste compound on the peg shaft. Use a small quantity at the place the peg is in touch with the pegbox and use it sparingly.
4. Pay Attention To The Temperature
The best and recommended temperature for a violin is 60 to 70 Fahrenheit, or between 15 and 20 degrees Celsius.
When wood expands or contracts, delicate adjustments to the alignment and construction of your violin can result in modifications in sound production or even harm the instrument. The changes can also affect your violin’s tuning.
That’s why you need to avoid leaving your violin in direct sunshine as high temperatures might cause irregular expansion and warping of your instrument. Additionally, do not leave your instrument in a low-temperature environment. Not only may it cause harm to the wooden parts of your instrument, but also the strings might break much more easily in extreme temperatures.
5. Humidity Control
The most recommended humidity for a violin is 40-60%. You’ll be able to control humidity in two ways; controlling humidity within the room where the instrument is stored or in the case.
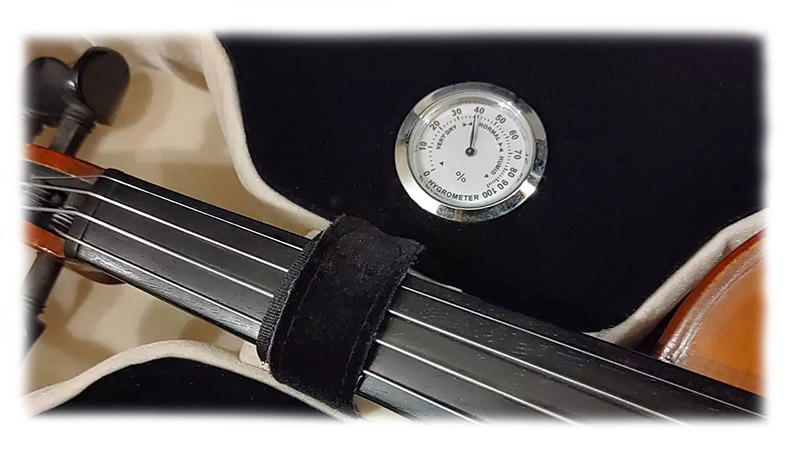
For those who are controlling humidity within the violin case, keep in mind to always put the violin back in the case when you are done with your session. For those who choose regulating humidity in the room, always have a humidifier in the case for travel through the dry months.
Notice: For those who don’t have one, think about buying a good-quality violin case. A good violin case serves two purposes. It helps protect the violin from physical damage and harmful temperatures.
The very best quality violin cases not only protect the violin from bumps and scratches but additionally protect it from different environmental factors including rain, dust, and debris. In the present day, the violin case additionally contains special storage compartments for bows, rosin, and shoulder rest.
Frequently Asked Questions
Is it safe to clean my violin with alcohol?
You should by NO means use cleaning solvents, alcohol, hand sanitizer, or alcohol-based solvents on the wood of your violin. Alcohol compounds can easily harm the varnish on your violin.
If needed, use a tiny dab of 99 % isopropyl to clean the strings only. Avoid getting any alcohol on different sections of your violin, especially the wood, as this will harm the coating.
Is it safe to clean my violin with olive oil?
Whether or not it’s safe will depend on how old or new your varnish is. It’s mentioned that it’s safe to make use of olive oil strictly on brand-new varnish but not on old varnish.
Olive oil can be good for polishing a brand-new instrument because the varnish will probably be in its best, most protective state at the moment. However, olive oil will never dry, so any dust or dirt will stick to the instrument till it’s cleaned once more.
Furthermore, the oil will penetrate the wood if there are any cracks or an absence of varnish. It could be hard to repair such an instrument because the glues used for that function are water-based.
Conclusion
Our step-by-step fresh guide has covered nearly everything regarding violin cleaning, what you can do on your own, and when professional assistance is required. Many individuals consider the violin to be their “child,” something they cherish and they often do violin cleaning so they can keep their instruments in the best possible condition.
When it comes to violin care, everyday habits are essential to maintaining your instrument in great condition. Nevertheless, don’t forget to go to a luthier once twice a year for a few extra important maintenance, such as a rehairing or adjusting to humidity changes. Take your violin for a checkup and maintenance frequently, just as you would a vehicle. It will help you avoid bigger issues.
Knowing the best methods and having the correct products is just half the battle in terms of maintaining your violin clean. Ensuring that you clean your instrument frequently is the key to maintaining your violin in mint condition.


